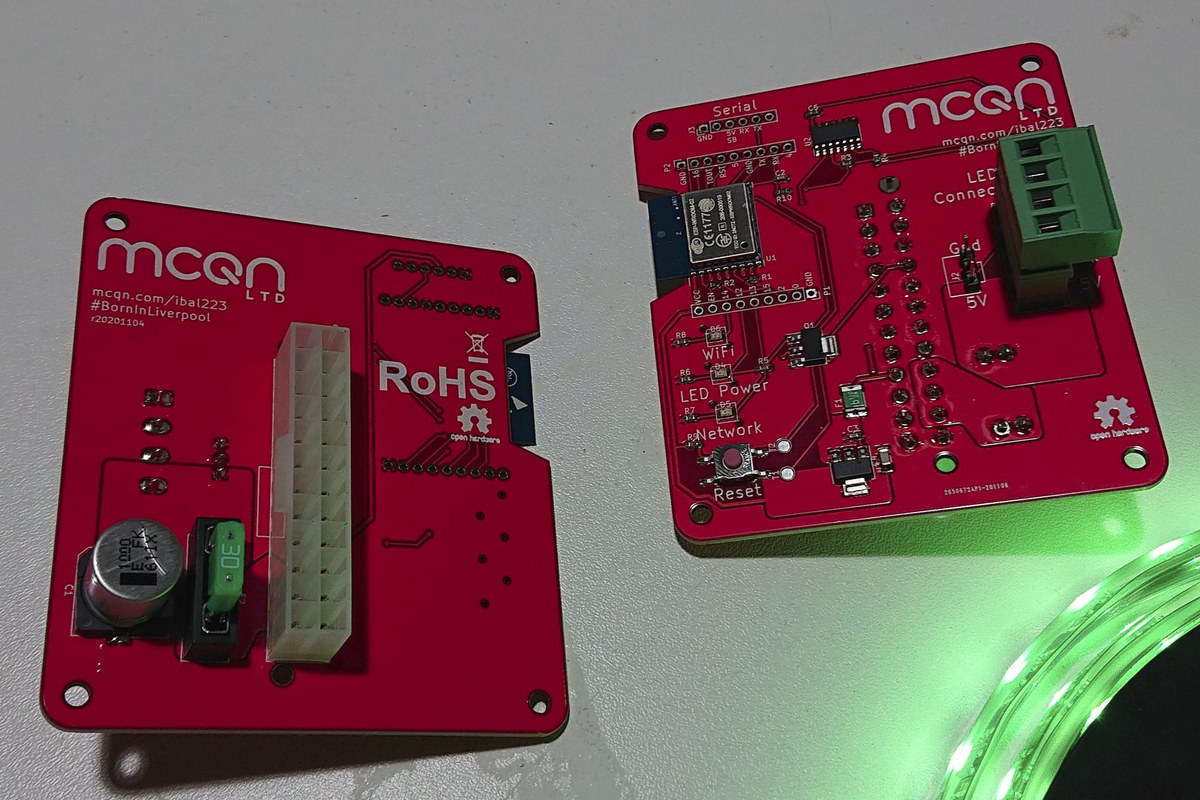
A custom ESP8266 board, which takes its power from a standard PC ATX power supply and can drive a string of WS2812/Neopixel RGB LEDs.
Initially designed to let us individually drive the Geometric Light “baubles”, it will also work on other similar LED strips. You can use it for something as simple as christmas lights, controlled in a browser or smartphone app using its own WiFi network, and for something as complicated (or more complicated!) than our experiment connecting a large illuminated sign to Twitter.
Here’s a little video of it in action:
I Want One!
We have found it’s a great board for people who don’t mind dabbling in a bit of software, but don’t want to spend time on the hardware. Or who might want to set something up quickly, while keeping your options for home automation and LED artwork open. But you can buy one for any reason!
The boards are for sale now on our Tindie store!

If you want to see how easy it is to get up and running, I filmed a short video showing the process from zero to flashy lights in under three minutes. It runs through the setup process and how to control it from your phone (it works just as well from a computer too!):
You Will Need
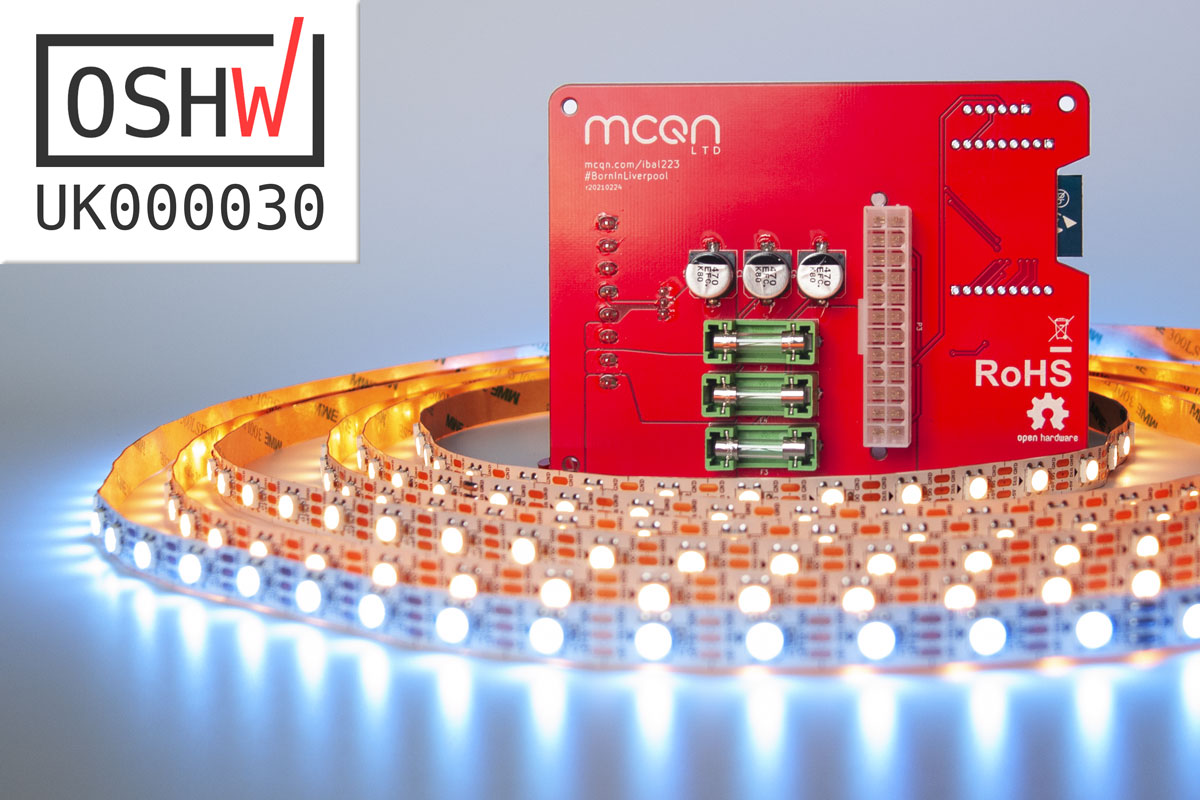
The My Baby’s Got LED board handles the control side of things, and makes it easy to plug together a system. For your very own controllable light setup you’ll need:
- The My Baby’s Got LED controller board.
- Some LEDs! There are all sorts of RGB LED options, so we’ll leave that up to you. We have, however, written a guide to help you navigate the many options. The board will work with any of the 5 volt Neopixel/WS2812-compatible or Dotstar/APA102-compatible LEDs. For example, check out Pimoroni’s rangeof Neopixels or Dotstar LEDs. A 500W PC power supply will be able to power up to 500 lights.
- A standard PC (ATX) power supply.
Setup
The document we send out with Tindie orders can be found on the github here.
- Connect your LEDs to the board. For the 3-pin Neopixel/WS2812 lights, if it has the standard plug on it, then you can just plug it straight in. For anything else, use a screwdriver to fasten the wires into the green pluggable terminal blocks.
- Plug in the PC power supply, and if it has an on/off switch, turn it on. The software on the board will light up the first 30 LEDs in orange to show things are working.
- Use your computer or phone to connect to the
WLEDWiFi network, the default password iswled1234. That will take you to a page when you can control the lights.
After that, explore the tutorials and resources on the WLED software wiki