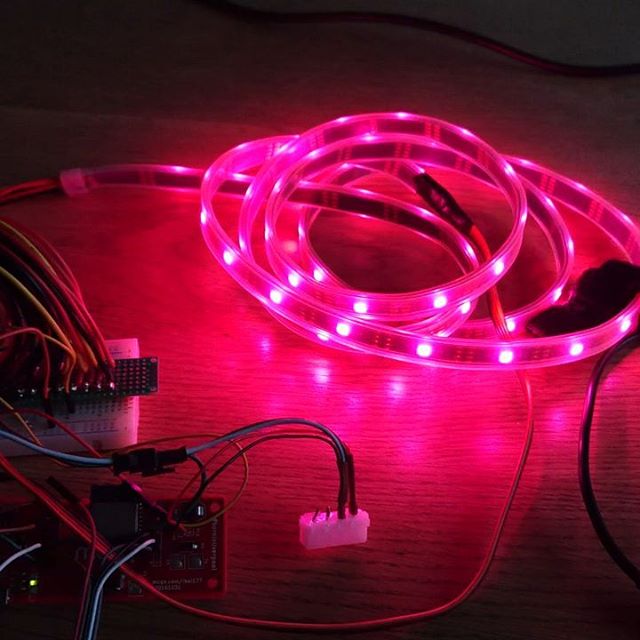
When you start looking at LED strips the wealth of options and possibilities can be overwhelming. Some LED strips are a single colour, others can change colour but all of the lights on the strip all change colour together. The most flexible, and the most popular, are individually addressable RGB LEDs. That’s what we’re focusing on here.

RGB just means that the LED is made up of three tiny lights: one red, one green and one blue. If you alter the brightness on each of them you can mix the colours together to get (pretty much) any colour you like. Some of the lights (like the SK6812) are RGBW, which means they include a tiny white light alongside the red, green and blue. They work the same, but give a slightly better range of colours.
The individually addressable part is what makes these lights such fun. Each separate LED can be set to a different colour, unlocking all sorts of interesting patterns.
Neopixels? WS2812? SK6812? Dotstars? APA102?
What are all these codes? There are a few different types of RGB LED, but they all do pretty much the same job. However, your controller board needs to know what kind it’s talking to so that it send the right commands and you end up with the colours you’re after.
The WLED software that comes on your My Baby’s Got LED controller board takes care of most of that and the My Baby’s Got LED controller should work with any of the 5V options listed here. We’ve tested it with the WS2812B, SK6812 and APA102 strips (so far).
Neopixels is the Adafruit name for the WS2812B strips, and Dotstar is their name for the APA102 LEDs.
The WS2812B and SK6812 (and WS2813) have three wires: 5V (power), data and ground. These are the ones the My Baby’s Got LED controller is best suited to, because it has a 3-pin connector that you can just plug your lights into.
The APA102 (and WS2801 and LPD8806) have four wires: 5V (power), clock, data and ground. To use those with the My Baby’s Got LED board you’ll need to cut off the connector and strip the end of the wires to fasten them into the screw terminals.
Strips? Strings? Neon?
The controller board doesn’t care how your LEDs look. That can be the (most common) flexible tape, or as individual fairy lights, or in a diffuser tube to mimic a neon light. Choose whichever looks the most interesting to you!
There are many places to get your LEDs: Pimoroni and Proto-pic have decent selections and are UK-based; ebay tends to have the widest range of options, although most will ship from China, so bear that in mind when considering how soon you need them to arrive!
How Many?
A key consideration is how many LEDs you can run from your power supply. When it’s set to full-brightness white, each LED will use about 60mA of current, which isn’t much, but when you’ve got 30 or 60 or 144 per metre that can soon add up.
The My Baby’s Got LED controller can cope with anything up to 30 amps of current, which is enough to run about 500 RGB LEDs. However, your power supply will need to be able to provide that current.
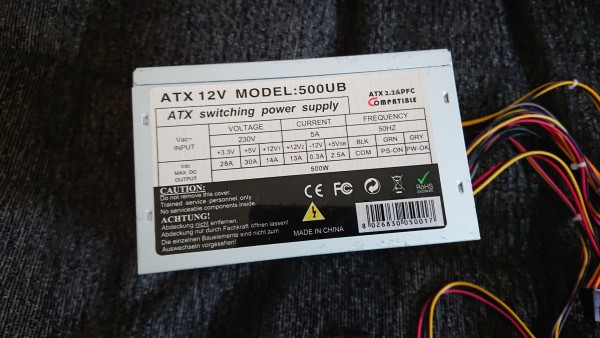
Most PC power supplies will have a table like this printed on one side:

The important number in all that is the current available at +5V. In this example it’s 30A, which is common for a 500W power supply. If you divide that number by 0.06 (which is 60mA in A) you’ll find out how many LEDs it will power—in this case 500.
One last thing to be aware of when placing your order is whether or not it comes with a connector. The LEDs on a strip tend to come in a 5-metre reel, and each reel has a plug at one end, and a socket at the other (so that you can chain lots of them together).
![]()
If you order less than a full reel it will be cut down from a full strip. It will work just fine BUT you might not get the section with the plug on it. In that case you’ll need to solder some wires onto the strip and then use the screw terminal connection on the controller board. So if you don’t have a soldering iron (or don’t fancy the soldering) then either buy a full reel or check that what you’re buying comes with the plug attached.
