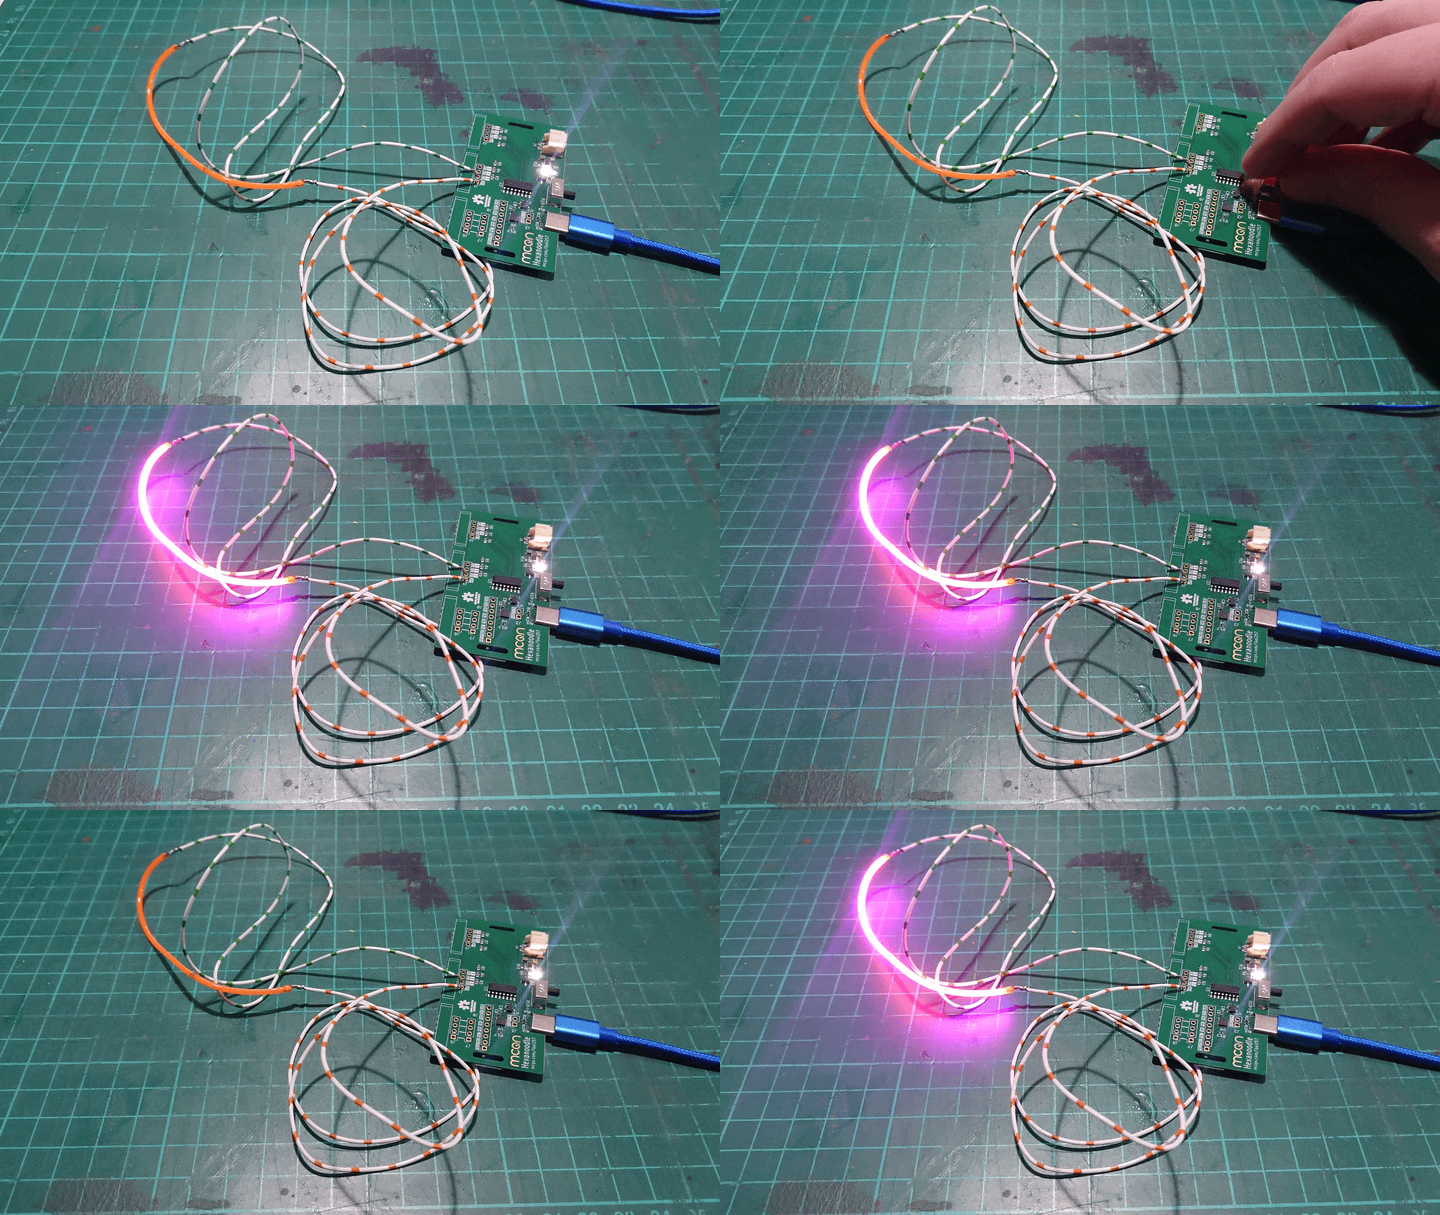
We’ve been pushing forwards on a few fronts this week. No major breakthroughs, just nudging things along on a few different projects.
With us nearing the end of this batch of Museum in a Box Chris has been checking over the last few boxes to make sure they’re all good to ship out. With any production batch there’ll be the odd issue here and there. When we’ve got the full batch those QA anomalies get put to one side for us to investigate and re-work later. Now we’re at that later. There were one or two still irretrievable after Chris’ attentions (we order a few more than we need in the production batch, to handle such eventualities) but he’s gotten enough PCBs tidied up to see us through. We need to order a couple of micro-SD cards too, which I (Adrian) will get to this week.
Last week I threatened to break out the oscilloscope to work out why I couldn’t get any code onto the new Hexanoodle prototypes. In the end the threat of it sitting on the desk next to the board was enough. Or maybe it was the break between attempts that let me spot I’d wired up the programming dongle incorrectly. Either way, I can get code onto the CH32V203 chip and the boards work!

The My Bike’s Got LED product work moved on a bit further too. I finished off the design work in FreeCAD with an assortment of fold up tabs added to the design we shared last week:

With the design finished—at least to a point where we can try making one—I got FreeCAD to unfold the design and save it as an SVG; that will then go into the laser-cutter software to let us cut one to test.

Finally, I found time to write up the Active Travel Hackday that we ran a few weeks ago.
